Wednesday, October 16, 2013

Dismantling Session #6 - 9-8-13

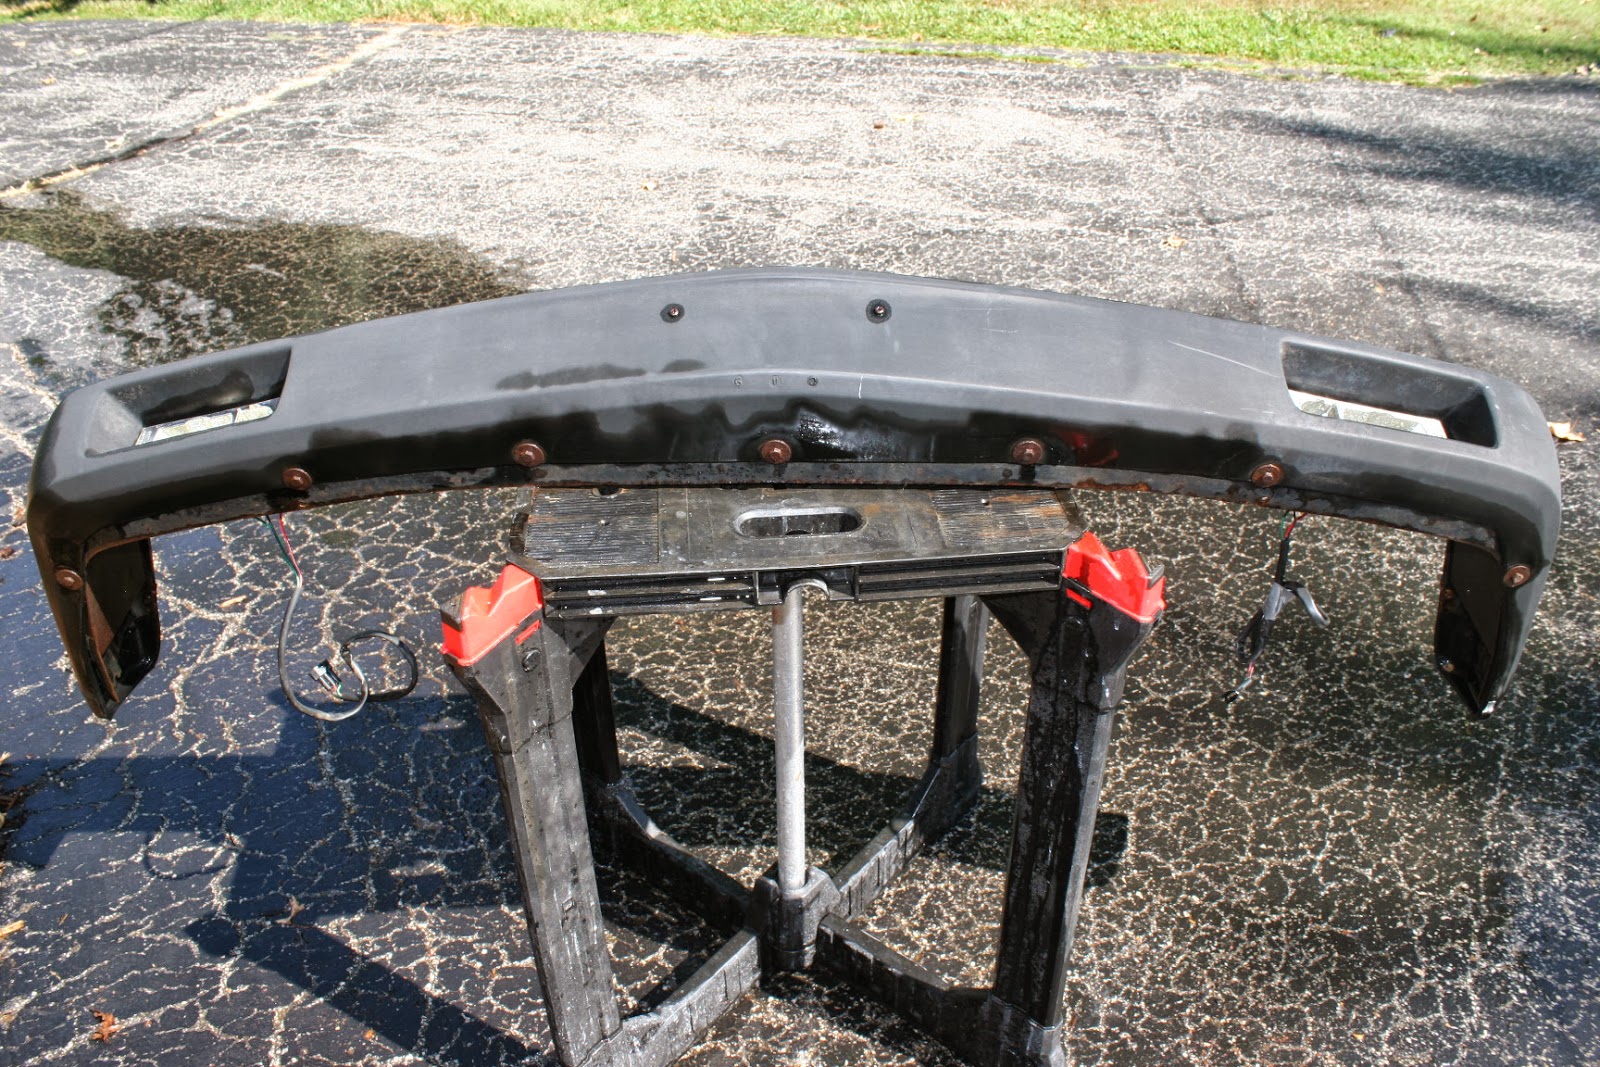
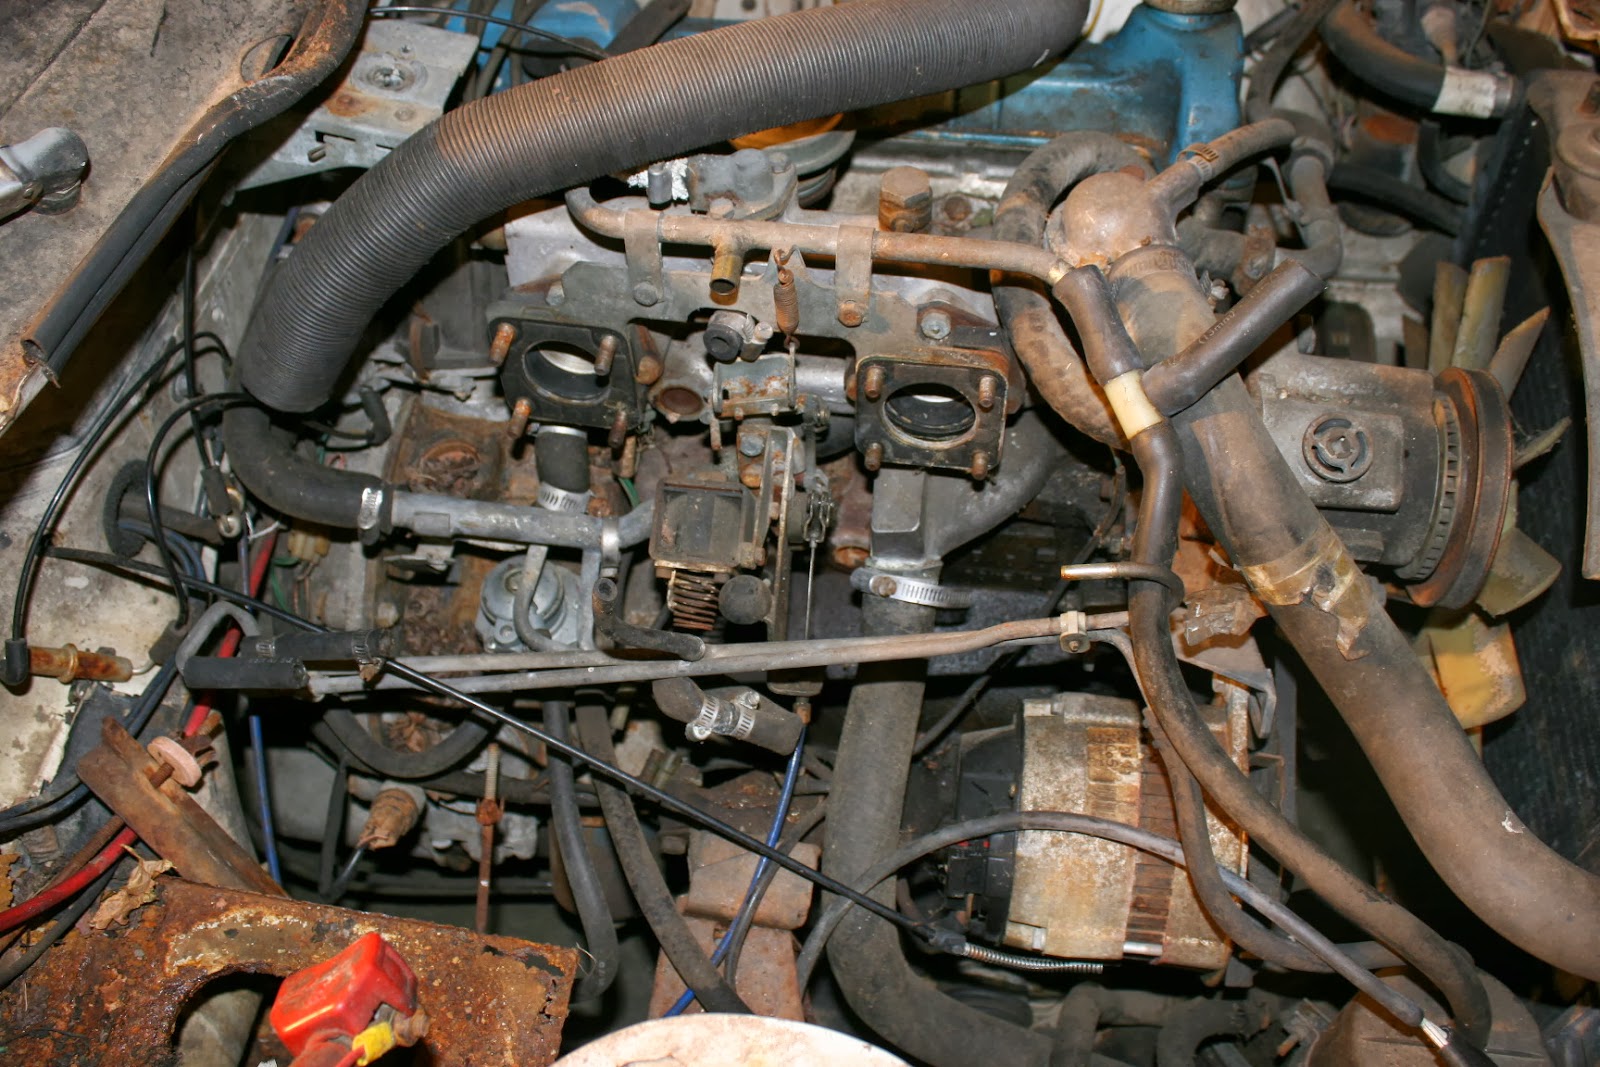
A little before and after on the pop up head light removal. Not nearly as bad a project as I expected. I left them in tack upon removal and will strip them down and clean up the motor. Everything seems to be in working order. Word has it the biggest issue of failure on these things is a) getting and keeping them properly aligned and b) making sure the electrical connections are kept clean. We shall see.


Dismantling Session #5 - 9-5-13

Pulling off the bumpers today. Its a good 90 degrees plus today so I don't know why I am out here. I guess love makes you do funny things. Anyway, for giggles I threw a little Armor All on the middle of the bumper just to be able to squint into the future a bit. Still needs some more elbow grease. Back bumper came off really easy except it is a heavy SOB. Got it on a stand and hit it with some degreaser before I put it away for a while. Frame and spare wheel well are in excellent shape for a 33 year old girl.


Front bumper was a bit more of a challenge but really due to the wiring and electrics I had to remove. The scoop is a bit ragged. I guess the previous owner never met a curb they didn't want to mount.


Dismantling Session # 4 - 8-30-13

 
Got a little bored on the engine and my back was hurting from bending over so I decided to hit the back end for a bit. Removed the carpets, taillights and trunk lights. Mostly original except for an after market rig up on one of the trunk lights and a wiring work around. Easy enough to put back to original. Probably going to go with new carpets any way. Solid metal throughout but for a few rust through spots on the edging where the weather striping attaches. You can see it in the last pic. Sand it and snip out the bad parts and the weather strip will go back on to hide it. Looks like this little bit of rust was a result of poor maintenance/cleaning. I will know to look out for that moving forward. All the light covers  are in good shape and should shine up nicely for reinstall later.


Sunday, October 13, 2013

Dismantling Session #3 - 8-19-13

Trying to get into the practice of working on it after work every night. Even 30 minutes or so I can make some decent progress removing a lot of small items.

Radiator expansion tank, receiver drier and AC in the background before....


Expansion tank gone...


Receiver drier and fuse relay gone. AC compressor in the lower right hand corner is coming out soon. Not sure that AC will go back in, more on that later.


Dismantling Session #2 - 8-16-13

This is the engine in the form it was received. The previous owner's buddy decided he could rebuild the carbs, bought a carb rebuild kit and dove in. He removed the carbs, partially dismantled one and apparently after realizing he didn't know what he was doing placed them in a box in the trunk. As a result I had a small head start on the tear down.


 Minus the carbs...


I jumped in and started removing hoses, the US spec smog kit, thermostat, and alternator. A lot of room in there without the air pump and smog kit. Its demise should add a few HPs later on.


Monday, October 7, 2013

Original Conditions

Good looking Interior for a 33 year old car...


Nosecone and Hood. Little dimple on the nose and a bit of surface rust but nothing too serious. It will be quite some time before the hood is back on.


I took the convertible top off pretty early on as it had a nice little tear in it. I want to change it out anyway to a Golden Tan top to match the interior as I am bothered by the fact that a tan interior car has a black roof.


Dismantling Session #1 - 8-15-13


Hood Removal before and after a degreasing and a spray down. Little bit of surface rust around the edges but otherwise in good shape.

Now this is happening...

At the tender age of 6 in 1978 I remember vividly sitting in the back seat of our 1973 Chevy Impala, dark green with a white vinyl top. We were sitting at a stop light in front of the Target store and White Castle just up the street from my childhood home. Pulling up next to us was another green machine (I would later learn it was British Racing Green), except this one was significantly shorter, lower to the ground and WAAAYYY cooler than the 73 Impala. My 6 year old hands and nose plastered themselves against the back window and I was hooked. TR7, the yellowish sticker said on the trunk (boot I have come to call it). I had to have one. Everywhere I looked I saw them and recall driving my mom, dad and sisters nuts as I pleaded with them to catch up to it so I could see it for just a bit more before it drove away.

I was a child of the Speed Racer era, so anything closely resembling the shape of the Mach 5 was the best thing EVER. Heck I would have settled for a Car Acrobatic Team car. I wished my Dad was Pops Racer and I wanted a Monkey. I wasn't much for a red scarf and tight white pants but I HAD to have a TR7, as in my mind it was the closest I would get to Mach 5 status. Growing up in the Midwest one is surrounded by Nova's, Malibu's, Ford LTD's, Grenada's and Aspen's. You could understand why a short, sleek wedge that would fit in the trunk of the Impala would grab me the same way my son today looks at a Bugatti Veyron.

After Years of that burning desire I finally set out about a year ago to find one I could call my own. August of 2013 I found this version that had minimal rust, all its parts, a damn fine interior and a willing and eager seller. I purchased this 1980 Canley Built Porcelain White DHC with 109,000 on the ticker. Its been sitting under cover for about 12 years and had barely a spec of rust on it, compared to many I had passed on. 

This is my journey to restore her to her original glory, with some upgrades to make her drive a little tighter around the twisties. I hope you enjoy the ride along with me as I take a fairly thin knowledge of vehicles into a full on study of auto restoration.